Technologies used
- Synpse Cloud for hosting and running applications
- OctoPrint for remote control of 3d printers
OctoPrint with Synpse
Running OctoPrint is super easy!
- Connect your Raspberry to 3D printer
- Install Synpse agent into your Raspberry
- Deploy OctoPrint to Synpse
name: octoprint
scheduling:
  type: Selector
  selectors:
    octoprint: "true"
spec:
  containers:
    - name: octoprint
      image: octoprint/octoprint
      devices:
        - hostPath: /dev/ttyAMA0
          containerPath: /dev/ttyAMA0
        - hostPath: /dev/ttyUSB0
          containerPath: /dev/ttyUSB0
      ports:
        - 80:80
      volumes:
        - /data/octoprint:/octoprint
      env:
        - name: ENABLE_MJPG_STREAMER
          value: "true"
      restartPolicy: {}
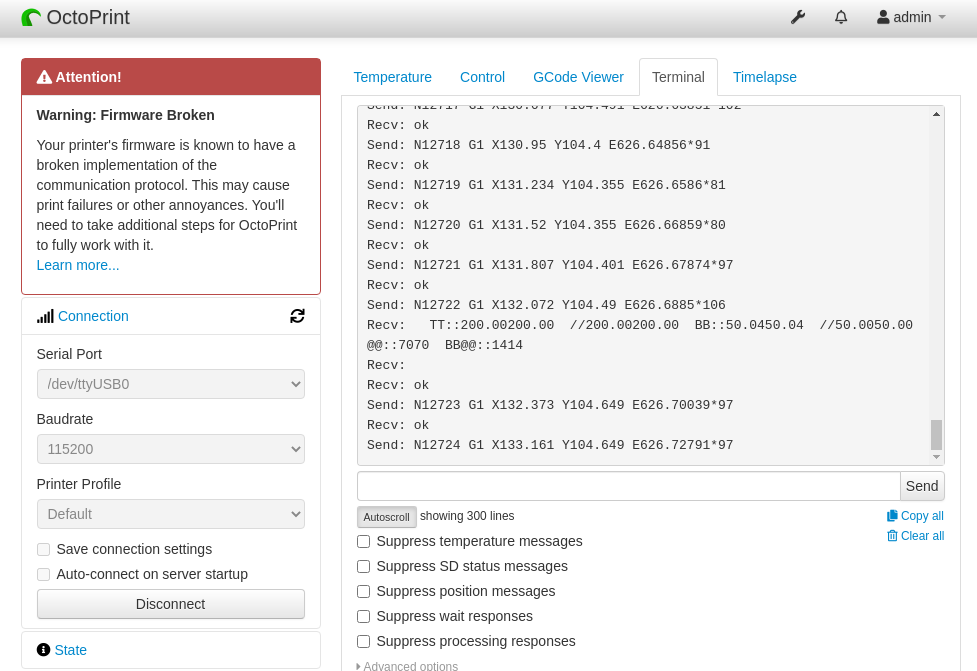
- Toggle device external URL button to access OctoPrint web.

- Access your 3D printer via web url from Synpse portal

Wrapping up
OctoPrint tells its users to never expose your octoprint to the internet. Synpse allows you to access your printer only when you need. Just toggle the device external URL button and you are good to go!